
Welcome to our comprehensive guide on making no-bake cookies and snack bars. Perfect for those who prefer not to use an oven or are short on time, this resource will equip you with expert techniques to create delectable treats that require no baking. Let's embark on the journey of crafting delicious cookies and snack bars without turning on the oven.
1. The Art of Combining Ingredients:
Master the art of combining ingredients to achieve the perfect texture in your no-bake creations. Use a mixture of dry ingredients like rolled oats, nuts, seeds, shredded coconut, or cereal, along with wet ingredients such as nut butter, honey, maple syrup, or dates. Experiment with different combinations to find the ideal balance.
2. Binding Agents and Sweeteners:
Incorporate binding agents like nut butter, honey, or maple syrup to help hold your cookies or snack bars together. These ingredients add moisture and enhance the texture. Adjust the quantity based on the desired consistency. For sweetness, choose natural sweeteners like honey, maple syrup, or dates for a healthier option.
3. Achieving the Perfect Texture:
To achieve the desired texture, make sure your mixture is well combined and evenly moistened. Add more liquid or nut butter if the mixture is too dry, or additional dry ingredients if it's too sticky. Aim for a mixture that holds its shape when pressed together without being too crumbly or too sticky.
4. No-Bake Cookie Shaping Techniques:
Shape your no-bake cookies by using a spoon or cookie scoop to portion out the mixture onto a baking sheet or parchment paper. For uniformity, gently press and shape each portion into a cookie shape. If desired, use the back of a fork or a spoon to create decorative marks or flatten the cookies slightly.
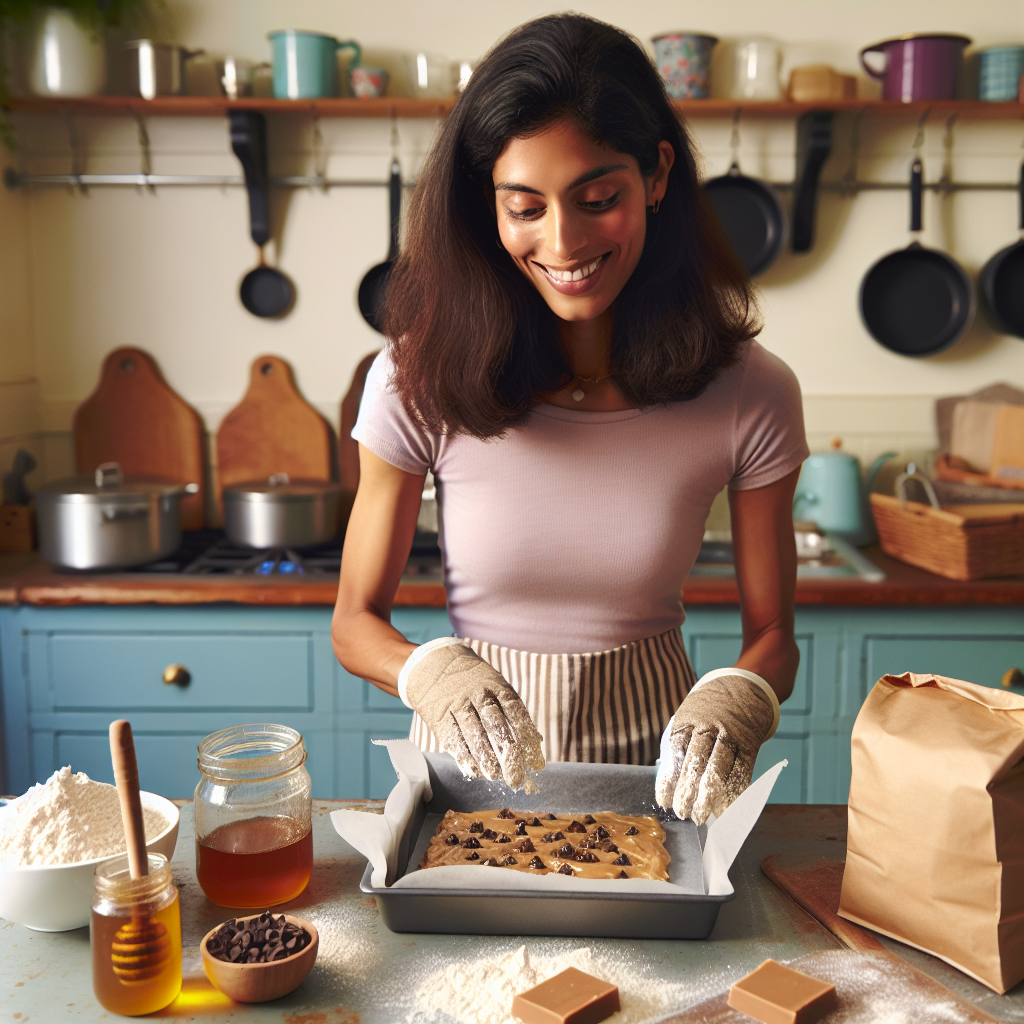
5. Snack Bar Formation:
For snack bars, press the mixture evenly into a lined baking dish or square pan. Use the back of a spoon or a spatula to firmly press the mixture down, ensuring it is compact and holds together. This will help the bars maintain their shape and prevent them from crumbling.
6. Chill and Set:
After shaping your cookies or bars, refrigerate them for at least 1-2 hours or until firm. This chilling step allows the ingredients to bind and set, resulting in the desired texture and consistency. For a quicker set, you can also place them in the freezer for a shorter duration.
7. Customization and Flavor Variations:
Get creative with flavor variations by incorporating additions like chocolate chips, dried fruits, spices, or extracts. Experiment with combinations like chocolate and peanut butter, cranberry and almond, or coconut and lime. Customize your creations to suit your taste preferences and enjoy a variety of flavors.

